
A quick scroll through home and garden blogs or home inspiration sites like Pinterest will make it clear that wallpaper is back.
Now, this isn’t your grandma’s wallpaper. Swoon-worthy patterns in geometric prints, bold florals, and glamorous chinoiserie are breathing life into otherwise ho-hum areas like laundry rooms, hallways, entryways, and powder rooms.
The only problem is those trending wallpapers you see on Pinterest easily run well over $50 per roll. With the average wallpapering project requiring 16 to 20 rolls, your project can quickly soar to $1000 or more.
Did you know with wall painting stencils, you can achieve the same look for much less? There is an enormous variety of stencils out there so you can create any look you desire. The best part is wall stenciling costs $100 to $300 on average for your entire project.
Here is our complete guide on wall stencils. All of the questions you have will be answered so you will be ready to transform your wall into a work of art.
Pros and Cons of Wall Painting Stencils
Before you dive into the world of wall painting stencils, take some time to consider the pros and cons. While there are endless possibilities when it comes to wall stenciling, there are some drawbacks as well. Keep reading to discover if a wall stencil project is right for you.
Pro: Wall Stencils Are a Cheap Alternative to Wallpaper
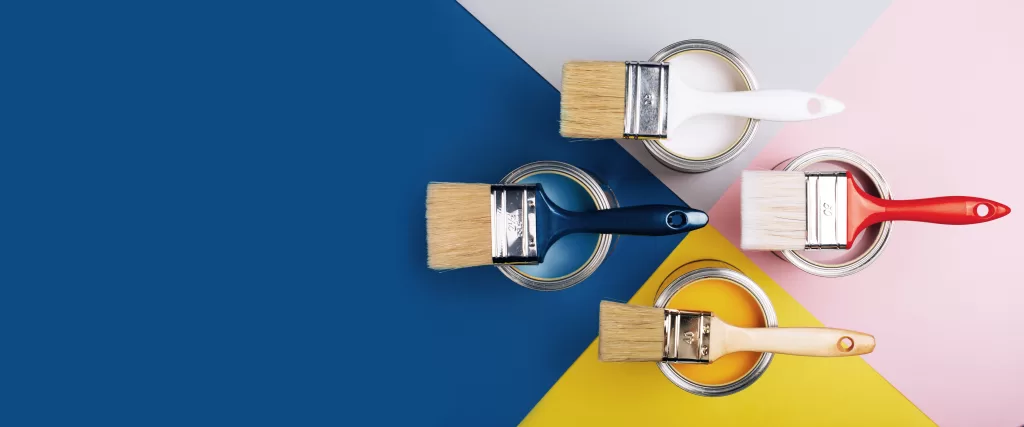
Like we said before, wall stencils cost a fraction of the price of wallpaper. The main supplies you’ll need will be your stencil (about $20); a small foam roller brush (about $7); a stencil brush (about $7); a small paintbrush (about $2); painters tape (about $5); a gallon of base paint (about $30); and a quart of stencil paint (about $20).
If you already have some of the items at home, the savings keep getting better.
Pro: Wall Stencils Make a Big Impact on Your Decor
Whether you opt for something small and simple or a big, bold pattern, a wall stencil is sure to make an impact on any room. It’s a low-cost way to take any space from purely functional to thoughtfully designed, stylish, and intentional.
Pro: Wall Stencils Are More Environmentally Friendly Than Wallpaper
Wall stenciling creates much less waste during installation and when it comes time for removal. When wallpaper goes out of date, the large strips of paper wind up in a landfill. If you get tired of your stenciled design, simply paint over it.
Con: Wall Stenciling Takes Longer Than Wallpaper
What you save in money, you give in time. To do a clean, professional job of your wall stenciling, it will take several hours or even days. Patience is key.
Con: There May Be More Steps Than You Realize
Cleaning and prepping the wall before you begin is an important and often overlooked first step. Furthermore, taking the time to use a level to apply your stencil in a straight line is crucial.
Also, you must paint in thin layers to avoid bleeding under the stencil. This means each stencil could take several coats of paint to achieve your designed color and opacity.
Con: Wall Stenciling Requires Care and Attention to Detail
Mistakes will happen. Paint will ooze under the stencil no matter how careful you are. Using a small brush or nail polish remover to touch up small mistakes will make a big difference.
Still want to stencil your walls? Here are some tips and tricks to avoid common pitfalls.
Wall Painting Stencils: Tips and Tricks
If you’re a beginner at wall stenciling, here are some basic tips to keep in mind as you prepare.
- Research online for color combination ideas and trends
- Always measure the wall before choosing the stencil
- Prep the wall by thoroughly cleaning it and repairing nail holes
- Use very little paint and light pressure to avoid paint bleeds
- Practice your stencil on a foam board before painting the wall
These tips will help you avoid mistakes and make your stenciled wall look professional.
Wall Painting Stencils: FAQs
Wall stenciling can be one of the more challenging DIY projects. Here are some Frequently Asked Questions to help you decide if it’s right for you.
Is Stenciling Difficult?
Stenciling can have its challenges, but like any DIY project, anyone can do it with a little patience and practice. If you’re a beginner, consider starting with a simpler pattern before moving on to intricate designs.
Do You Need Special Paint for Wall Stenciling?
Nope! Any sort of high-quality wall paint will work just fine. We do recommend researching the various types of wall paint: flat/matte, eggshell, satin, semi-gloss, and high gloss.
Determine which type of paint suits your taste. Some wall paints are more high maintenance than others, so take that into consideration if you have a busy lifestyle.
What Type of Brush Should I Use?
We recommend having three brushes on hand for painting wall stencils.
- A small foam roller
- A stencil brush
- A small paintbrush
The foam roller will be for your main application, so it doesn’t hurt to have two or three of them. The stencil brush is for corners and hard-to-reach spaces. The small paintbrush is for touching up mistakes.
How Long Does Wall Stenciling Take?
It depends on the size of the space you are painting and the complexity of your stencil. When you consider prep time, paint time, and dry time, you can expect your project to take approximately 12 hours from start to finish.
How Do I Choose the Colors?
The options are endless for your colors, so how do you narrow them down? Your color choice depends on your personal style, the room you are painting, your experience level, your budget, and the type of stencil you’re using.
If you’re new to wall stencils, we recommend starting with one or two colors for your design.
If you need ideas, check out Pinterest or home decor websites and blogs for trending color palettes.
In addition, we recently did a blog post discussing color theories when it comes to paint. Certain colors work better in some rooms than others, depending on the mood the color creates.
What Do I Do if I Make a Mistake?
First, realize that mistakes happen and aren’t a big deal. Even the most experienced DIYers make mistakes. Likley, no one will ever notice those little smudges and imperfections but you.
For minor mistakes, simply use a small brush to touch up any smudges, etc. A dab of nail polish remover may also do the trick. For big mistakes, you can always paint over the area and try again.
Wall Painting Stencils: Ideas
Do you know you want a beautifully patterned wall but are not sure where to begin? Here are some ideas to get your creative juices flowing.
- Floral, leafy, or geometric patterns that look like trendy wallpaper
- Stencils that mimic subway tile or herringbone tile
- Stencil metallic stars on the ceiling
- Use painters tape to stencil stripes, plaid, or checkerboard
- Use detailed stencils to mimic Moroccan tile
- Use metallic paint in the same color as the wall for a subtle pattern
- Use a round stencil on the ceiling as a faux chandelier medallion
Do you want ideas based on your experience level? Here is a guide to help you choose a design based on your experience as a DIYer.
Beginner Wall Stencils
There are cool beginner-friendly stencils for wall painting out there. Stencils with simple lines, dots, or speckles are a good choice. And just because they are simple doesn’t mean they don’t make a big statement!
We like this minimalist Scandinavian Stencil by StencilsLab.com.
Intermediate Wall Stencils
Intermediate stencils tend to be a little bit more detailed. These stencils typically come in patterns like damask, floral, trellis, starburst, Moroccan tile, and Art-Deco patterns. We recommend starting with a single color or, if you’re feeling adventurous, two or three colors.
We like this Trellis Stencil available on Etsy.
Difficult Wall Stencils
More advanced wall stencils are where we start to see smaller patterns, detailed floral prints, and intricate tiles. With so much detail on each stencil, you can really get creative with your color combinations.
These stencils will take some additional planning before you start. We recommend practicing your stencil and color palette on a foam board before you begin painting the wall.
We like this Woodland Botanical Stencil on Etsy.
Extremely Advanced Wall Stencils
Did you know wall stencils come in complicated toile, chinoiserie, and faux fresco patterns? You can even stencil elaborate murals onto your accent wall or ceiling. If you love the look of these luxurious motifs and you’re feeling ambitious, check out some of the gorgeous advanced stencils out there on the market.
Please note, that these types of stencils will set you back a pretty penny. If you love to paint and DIY, these are for you.
We like The Ultimate Faux Fresco Stencil Kit available on CuttingEdgeStencils.com.
If you can dream it, you can stencil it! Almost any pattern of wallpaper or wall art you can think of comes in stencil form. And if it doesn’t — make your own!
Making Your Own Wall Stencil
Making your own stencil isn’t as complicated as you might think! All you need is a little planning and the right materials, then you’ll be on your way to stenciling anything you want onto your walls.
Here is a quick introduction to making your own wall stencil.
1. Pick a Pattern
Search online for ideas and decide on the style of wall paint stencil you’d like to create. There are free, printable stencil patterns available on the web. Or if you would like, draw your pattern yourself.
2. Gather Your Supplies
To make your wall stencils, here are the basic items you will need:
- Plastic stencil sheets
- A fine-tipped marker to trace your pattern
- Ruler
- A measuring tape
- Exacto-Knife
If you don’t know what stencil sheets are, they are clear sheets of plastic made to be thin enough to cut easily but thick enough that they don’t flop over. You can find them online or at craft stores.
Have all your items been gathered up? Now you’re ready to make your stencil!
3. Trace the Stencil
Place your pattern or drawing under the stencil sheet and trace it with the marker. If it helps, trace with a pencil first. The ruler comes in handy if your design has lots of straight lines.
4. Cut the Stencil
Next, cut out your pattern with the Exacto-Knife. Remember, all the empty spaces you cut out are where the paint will go on the wall.
It’s a good idea to keep some extra stencil sheets on hand in case you mess up.
Large wall paint stencils speed up the work. If your stencil is a repeating pattern, consider making a few stencils and taping them together to create a large stencil.
How To Use Wall Painting Stencils: A Step-By-Step Guide
You’ve brainstormed your design, chosen your colors, purchased or made your stencil, and practiced using your stencil. Now you’re ready to start painting the wall!
Follow our step-by-step guide to apply your wall paint stencils like a pro.
Step 1 – Prep the Wall
The wall is your canvas! Just an artist preps their canvas for their masterpiece, you must prep the wall before you stencil.
First, give the wall a good clean to remove any dust and debris. We don’t want dust particles stuck in our paint.
Never use harsh chemicals or degreasers on your walls as they could wear away the paint. Lukewarm water with mild dish soap is usually a good option, but we recommend researching wall cleaning tips based on the type of paint on your walls.
The next step will be to repair nail holes. This is an easy job. You just need a spackle, putty knife, and fine-grit sandpaper.
Using the spackle, spread a tiny amount of putty over the hole and let it dry for about two hours. Use the sandpaper to sand down the dried putty until it is flush with the wall. Wipe away the dust with a damp cloth.
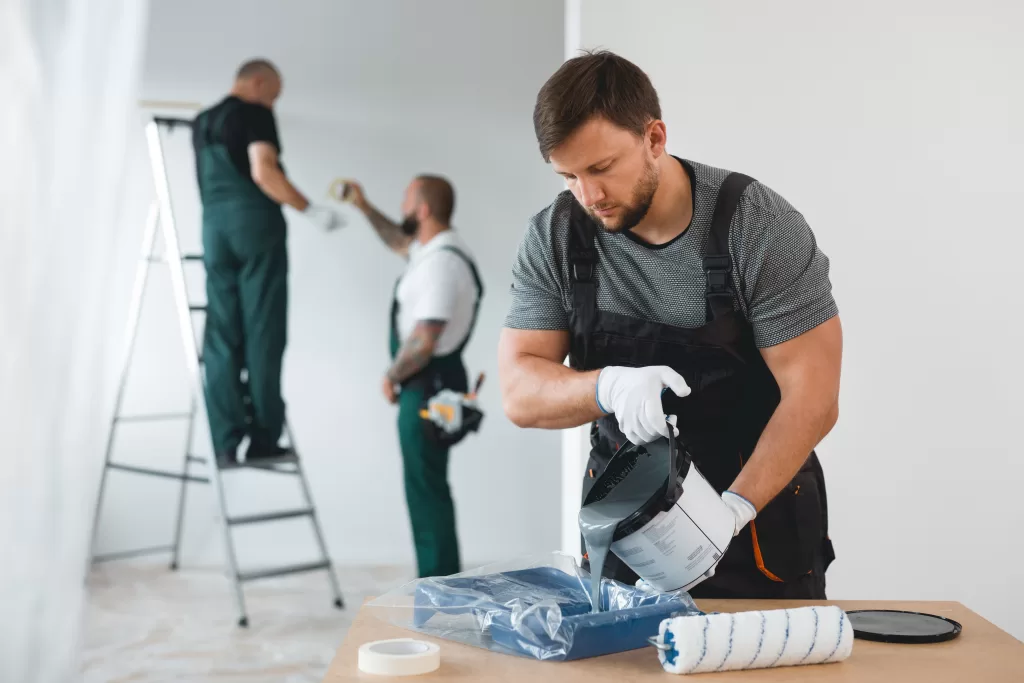
Step 2 – Gather Your Supplies
Now that your wall is looking fresh and clean, you are ready to start stenciling. Gather all your supplies before you begin so you have everything on hand when you need it. This will make the whole process go much more smoothly.
Supplies:
- Your stencil(s)
- Your base paint (if needed)
- Your stencil paint
- Level
- Pencil
- Painters tape
- Small foam roller
- Stencil brush
- Small paintbrush
- Paint tray
- Paper towels
- Drop cloth
Most of these items can be found online or at craft stores. Have anything gathered and ready to go? Let’s go to Step 3.
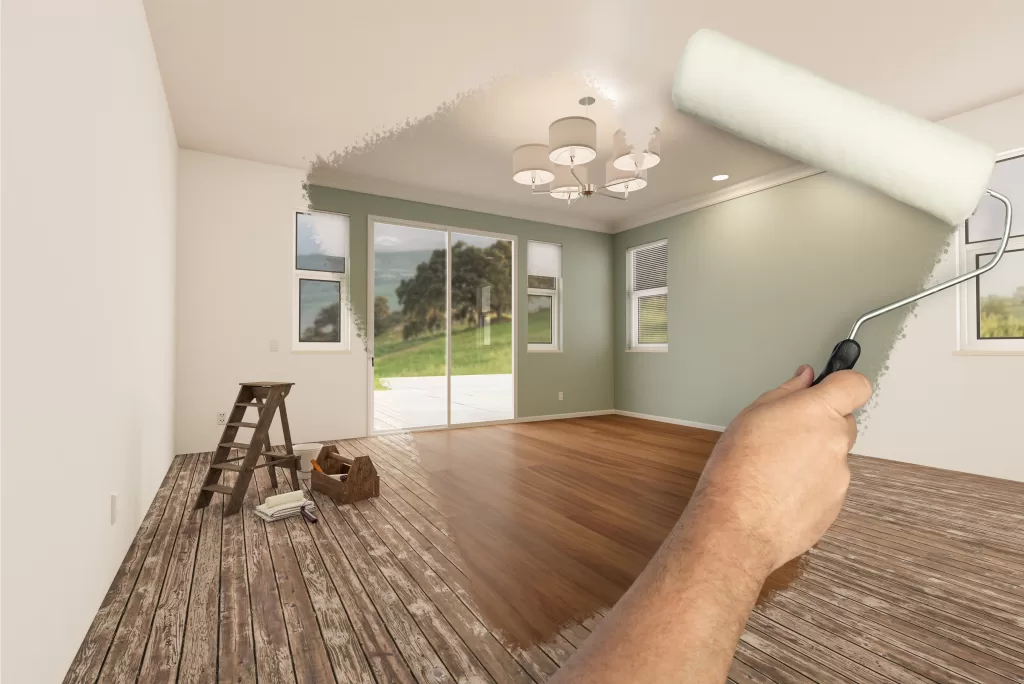
Step 3 – Paint the Base Color
If you’re not using your existing wall color for the base, this is your next step. If you are not painting a new base color, you can skip to Step 3.
Using a base color that is lighter than the stencil color will make for an easier job. While painting a lighter color on top of a darker color is possible, it may appear more muted or require several coats.
Lay down your drop cloth and use painter’s tape to mark off the areas you don’t want to be painted. Next, using a 1/4 nap roller, paint your entire wall. Allow it to dry for at least two hours before moving on to Step 4.
Step 4 – Choose Your Starting Point
You have a few options for where to start your stencil. You can start in an inconspicuous area so if your first few stencils don’t turn out well, they will be less noticeable.
Another popular option is to start right in the middle. That way, the full design is front and center.
If your stencil has straight edges, use a pencil to draw a straight vertical line down the wall. That way, your first row of stencils will be perfectly straight alongside the line and the rest can build out from there.
Step 5 – Stick the Stencil to the Wall
Using a level, make sure your stencil is perfectly straight then stick it to the wall. Some stencils come with an adhesive backing, but we recommend using painter’s tape so you can easily unstick it and use it again and again.
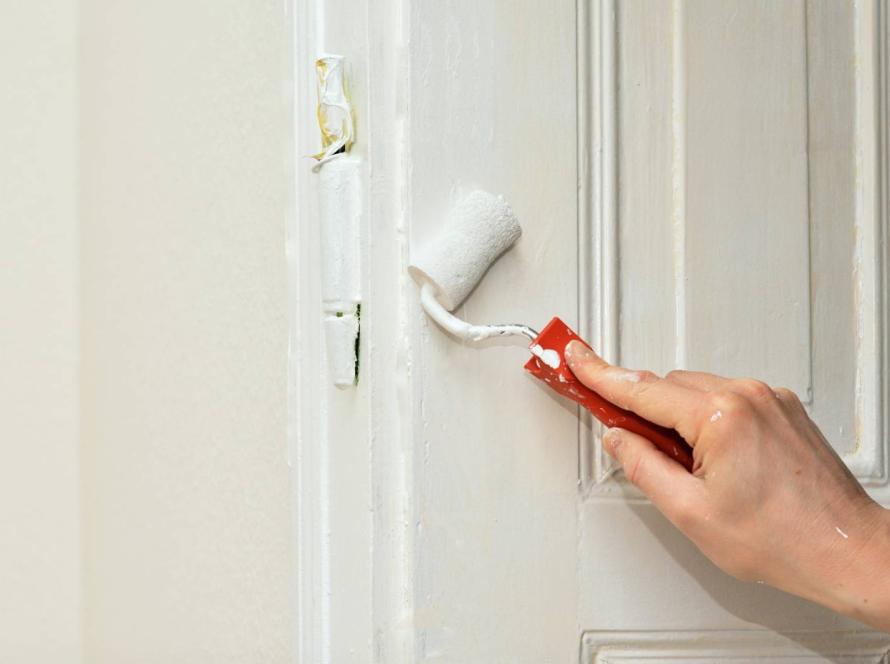
Step 6 – Roll on the Paint
Using your small foam roller, apply paint onto the roller in the paint tray.
It’s very important to use a small amount of paint to prevent paint from oozing underneath the stencil. Roll excess paint off in the tray. We recommend even doing a roll or two onto a paper towel to make sure all excess paint is removed.
Next, using a light touch, roll a coat of paint over your stencil. Since you’re using such a light amount of paint, you may need to refill your roller a couple of times to reach your desired opacity. Be patient — painting several thin coats will result in a crisp look with little bleeding.
Let the paint dry completely before peeling it off and repositioning it. If you’re painting thin layers, the paint should dry pretty quickly. You may also wish to have a couple of stencils on hand so you can keep working while the others dry.
Use a small paintbrush and/or nail polish remover to touch up any mistakes you see after peeling off the stencil.
Step 7 – Cleaning the Stencil
As you work, there will come a time when it’s necessary to clean your stencil either because you’re taking a break or because so much paint has built up on the plastic.
First, let the stencil soak in soap and water until the dried on paint is softened. Using a cloth and a small amount of dish soap, gently scrub off the paint. You do not want to be too aggressive and bend the stencil.
You don’t have to get the stencil entirely clean, just clean enough that dried paint particles are not affecting your work. Wait for your stencil to completely dry. Now you’re ready to continue!
Step 8 – Painting Corners and Edges
We recommend saving these challenging areas for last.
Running into small spaces can be difficult when painting with wall stencils. If you run into a corner, simply fold the stencil into the space and tape it down. For the border of ceilings and floors, cut your stencil down to size.
If you don’t want to cut your stencil because you only have one, you can try making a cheap copy. Photocopy or trace your stencil onto card stock and cut it out. It might not be as perfect as the original, but these are non-focal areas of the room so they should be fine.
Since your roller probably won’t fit in these tight spaces, we recommend using a stencil brush to lightly dab paint onto the stencil. If you’re in a spot that’s really small, use your small paintbrush to fill in those areas.
Step 9 – Enjoying Your Stenciled Wall
Congratulations! You now have a beautiful stenciled wall!
Allow the paint to dry for a day or two before returning furniture and wall hangings. To keep your walls clean, follow instructions based on the type of paint you used.
Now plan a party, have your friends over, and show off your handy work!
We would love to see your transformation — contact us to share your before and after photos!
Ready to Start Stenciling?

Compare Quotes from Top-rated Painting Contractors in your area.
No matter your skill level or budget, we believe a stylish home should be within reach for everyone. The look of a trendy patterned wallpaper can be yours at a fraction of the cost with wall painting stencils.
We hope this comprehensive guide has answered all your questions about how to achieve beautifully stenciled walls. While the process may seem intimidating at first, anyone can successfully stencil their walls with patience and little elbow grease. Looking for professional help? Tap here to request work from Painting Experts!


Facebook
Comments