
Are you embarrassed by your tired, outdated floors but don’t have thousands of dollars to spend on remodeling?
You deserve to have floors that match your personal style, but it can be a big investment. In fact, homeowners spend an average of $1,500 – $4,500 for new floor installation for just one room.
If those numbers make you cringe a bit, you might try painting floor stencils as a low-cost alternative until you can afford to replace your floors.
No matter your style or experience level, there is an endless supply of beautiful stencils on the market. Whether you’re after a simple modern look, something farmhouse-inspired, or an intricate mosaic — there is a stencil out there for you.
Or you can even create your own!
Did we mention most floor stencil projects cost about $100 – $300 when all is said and done? With floor stencils, you can do a DIY paint project to create a look you love for a fraction of the price.
Keep reading for inspiration, tips, and advice on how to create the stenciled floor of your dreams. Happy stenciling!
The Pros and Cons of Using Floor Stencils
Let’s start with the pros and cons. We already mentioned the cost benefits, but there are some challenges to be aware of! Before you get your stencil on, check out this list so you can decide if stenciling your floors is right for you.
Pro: It can add lots of character
With so many beautiful floor stencil designs on the market, there is no end to how creative you can get. Stenciling allows you the option to create a customized look that may not be available otherwise, create designs that fit your personality, and wow your guests.
Pro: It’s an inexpensive alternative
Stenciling your floors is a fraction of the cost of fully replacing your tile, hardwood, or concrete. Even when you consider the cost of prepping the floors and applying the topcoat (in addition to actually painting on the stencil), the total cost is still much less than it would be for all new materials, even if you installed them yourself.
Pro: You can Do-It-Yourself
With some patience and elbow grease, anyone can stencil their floor. It’s an easy DIY project that doesn’t require finding a contractor, having strangers in your house, or paying for labor.
Con: It’s difficult to undo if you mess up
Painting your tile, concrete, or wood floor isn’t as re-doable as painting your walls. While you can remove paint from floors, it can be a time-consuming process and you run the risk of damaging the material.
Con: It requires lots of time and attention to detail
Stenciling your floor is not a project you can rush through. Especially if you opt for a detailed design, taking your time and painting carefully is key. You also will need to wait for the paint to fully dry before you add new layers, so the project could take several days.
Con: It may not last long
If you don’t properly prep and finish your floor, the paint could start to peel and chip. As a rule of thumb, try to avoid painting heavily trafficked areas like entryways or places that come in contact with a lot of water, like showers.
The Different Types of Floor Stencils Available
Did you know there are thousands of floor stencils out there to buy? And if you want to make your own, the possibilities are endless! There are styles and patterns available to meet the needs of any homeowner.
Some types of stencils are easier for beginners. Some types work best on certain kinds of floors. Keep reading to learn about the different types of floor stencils available so you can determine which is best for your project.
Solid Paint or Stain
Ok, we hear you. This one isn’t actually a floor stencil — but we thought it was fair to point it out. Before you knock yourself out with a stencil, consider if a solid paint color or stain would work for your desired look.
If you’re just wanting to cover nicks and scratches or go for a more minimalist design, solid paint colors or concrete stain may be a good choice to freshen up your floor. We especially recommend this option if you’re a beginner who’s nervous about painting the floor — it’s a big commitment!
Tape
Using tape is an inexpensive way to create lines or simple patterns. Some beautiful tape stencil ideas include checkerboards, squares, triangles, or plaid.
Delicate Surface Frog Tape or basic blue painter’s tape are both great choices for this type of project. They are low adhesive and won’t damage surfaces or leave residue behind.
Cricut Vinyl
If you see yourself making stenciling a regular hobby, you might consider investing in a Cricut.
A Cricut machine is a special crafting machine that can cut intricate designs in materials like paper and vinyl. Simply design the stencil in Cricut Design Space, then cut it out using the machine. You can use Cricut Vinyl for your stencil material or any number of items, including wax paper, card stock, or stencil film.
Pre-Made Stencil
You can buy thousands of pre-made stencils with everything from basic patterns to extremely detailed mosaics. If you opt for a pre-made stencil, be sure to measure your tile down to 1/16th of an inch. Trust us, you will want an exact fit!
How to Choose the Right Floor Stencil for Your Project
There are a few factors to consider when choosing the right stencil for your project. We will go over some pointers for selecting your stencil based on your experience level, desired aesthetic, and surface to be painted.
Experience Level
The floor is a focal point in any room, so we understand if the thought of painting it is intimidating. If you’re new to floor stenciling, we recommend starting with a smaller area like a mudroom or powder room.
Try starting out with a simple pattern or a single color. Before you know it, you’ll feel confident moving on to intricate patterns and multi-colored designs.
Desired Aesthetic
What look and feel do you hope to achieve with your floor stencil? Is it modern, bohemian, farmhouse, or something else? Do some research and compile images that inspire you.
Taking some time to brainstorm your ideal aesthetic will help you determine which stencil matches the style of your home and surrounding decor. It can also help you decide which paint colors to choose.
Surface to be Painted
Anything is possible, but some types of floor stencils are easier to do on certain types of surfaces. For example, a square stencil may be easier to use on square tiles. On the other hand, a large medallion stencil could be easier to use on a solid surface such as a concrete patio.
Tips for Perfect Installation
Say you’ve chosen your desired look, purchased your stencil, and picked out your paint. Now you’re ready to get down to business. Here are the steps to a flawless stencil installation based on the surface.
Tile
Floor tile stencils are so much fun because many pre-made stencils look like beautiful decorative tiles. The key to successfully painting tile is to make sure it won’t chip or peel. It’s all in the prep work, quality of materials, and top coat.
Supplies:
- Grout cleaner
- Grout crack sealer
- Sandpaper
- Toothbrush
- Interior Floor Paint – Base Color
- Interior Floor Paint – Top Color(s)
- Protective Top Coat
- Painters tape
- 3/8 nap roller brush
- 1/4 nap roller brush
- Small foam roller brush
- Small paint brush
1. Clean The Grout
Before you start painting, you’ll need to ensure your floor is tip-top. The first step is to clean the grout. Using a grout cleaner and a toothbrush, scrub the grout until it is clean.
The next step is to look for chips and cracks in the grout. Following the instructions on the container, use a grout crack sealer to fix imperfections.
2. Prepare the Floor
Next, you must ensure your floor is free of all dirt and debris so it doesn’t stick in the paint. Move all furniture to another room, then thoroughly sweep, mop, and/or vacuum. A handy tip is to use a hair dryer to blow away microscopic particles your broom or vacuum missed.
3. Paint the Base Color
Using blue painter’s tape, tape off your baseboards and any areas where you don’t want paint. Now you’re ready to paint your first coat. Using a 3/8 nap roller brush, start from the back of the room and paint your way out (don’t paint yourself into a corner).
We recommend using high-quality interior floor paint. Once your first coat is applied, wait at least six hours for it to dry, then repeat with one more coat.
4. Measure the Floor and Lay Down Your Stencil
Depending on the type of stencil you are using, here are tips for how to place it on the floor.
If you’re doing a tape stencil, tape your lines down by direction. Put down all your vertical lines, horizontal, and diagonal.
If you’re using a vinyl sticker, find the center of each tile and mark it so you know where to place the sticker. Next, cut the excess edges off your sticker and lay it down where you have marked it. Repeat until the floor is covered.
5. Paint the Pattern
If you’re using a pre-made stencil, you’ll need to tape down the edges each time you paint so the stencil doesn’t move around. A handy tip is to buy two or three stencils so you can keep painting while the others are drying.
Now we’re ready for the fun part! If you are doing a tape stencil or vinyl sticker, simply roll over each shape using a small foam roller brush. Let dry for six hours, then pull up the tape or stickers.
The process will take a little longer if you’re using a pre-made stencil. Roll a THIN layer of paint over each stencil with your small foam roller brush, then let it dry for at least an hour before you move on to the next tile.
Notice any imperfections after peeling up your stencil? Use a small paintbrush to touch-up areas where the paint bled.
6. Add a Top Coat
After all that hard work, make sure your beautiful new floor lasts by applying a protective top coat. To do this, let your paint dry for at least an hour, then roll on your top coat using a 1/4 nap roller.
Top coat paints usually come in glossy or matte. Both work well, so choose based on your personal preference.
Allow your top coat to dry for at least 24 hours before walking on your newly painted floors. To be extra safe, wait a few days before replacing furniture.
7. Protecting Your Painted Floor
Avoid harsh and abrasive cleaning products to preserve and protect your painted floor. A Swiffer or mopping with a bar of mild soap and water should do the trick.
Concrete
Do you have a concrete porch, patio, or driveway you’d like to freshen up with a new look? Concrete floor stencils can create some serious curb appeal, but they need to be able to weather the elements, so there are some extra steps. Follow these steps to make sure you get a beautiful, long-lasting paint job.
P.S. These tips also work well with natural stone surfaces.
Supplies:
- Broom or leaf blower
- Pressure washer
- Concrete cleaner or degreaser
- Concrete caulk sealant
- Scrub brush
- Painters tape
- Concrete paint primer
- Masonry paint or concrete stain in the base color
- Masonry paint in the top color
- High-capacity roller brush x 2
- Slip resistant additive
- Stencils
- Stencil brush or small foam roller
- Concrete sealer
1. Check the Weather
Painting your outdoor concrete will involve letting multiple coats of paint dry. This could take three or four days, so check the forecast for a dry period to plan your project.
1. Clean the Concrete
Use a broom or leaf blower to remove any debris from the concrete. Next, give the area a good pressure wash. If your concrete has grease or oil stains, use a concrete cleaner or degreaser for a completely clean surface to work on.
2. Patch Cracks
Patch cracks and imperfections using a concrete caulk sealant. After letting it dry for 24 hours, use a scrub brush to remove excess caulk residue.
3. Tape and Apply Primer
Now that your concrete is prepped, you’re ready to paint. Using painter’s tape, mark off any areas you don’t want painted. Next, apply a concrete paint primer to the surface for a smooth application and better durability.
4. Apply the First Coat of Paint
Using a masonry paint or concrete stain (sometimes called elastomeric paint), apply your first coat with a high-capacity roller or brush. You will want to use a thick roller for this project so you can get in the all the nooks and crannies of the concrete.
5. Apply the Second Coat of Paint
Allow the first coat to dry for 12 hours before painting the second coat. If you’re painting a high-traffic area such as a walkway or stairs, consider adding a slip-resistant additive to your paint.
6. Start Stenciling
Measure your space and determine where you want the stencil to start — the center is usually a good choice. When you’ve chosen your starting place, tape the stencil down to the floor, ensuring it is straight. Using a stencil brush or small foam roller, apply a thin layer of paint to the stencil.
Painting a thin layer is important in order to avoid excess paint oozing under the stencil. Allow the paint to dry for at least one hour before you move the stencil to the next section. If you notice any bleeding when you pull up your stencil, simply use a small paintbrush to touch up the mistakes.
7. Apply Concrete Sealer
Allow the paint to dry for 24 hours before applying concrete sealer with a high capacity-roller or brush. This step will help prevent fading, cracking, or peeling. Next, give the area a couple of days to completely dry before resuming normal activities.
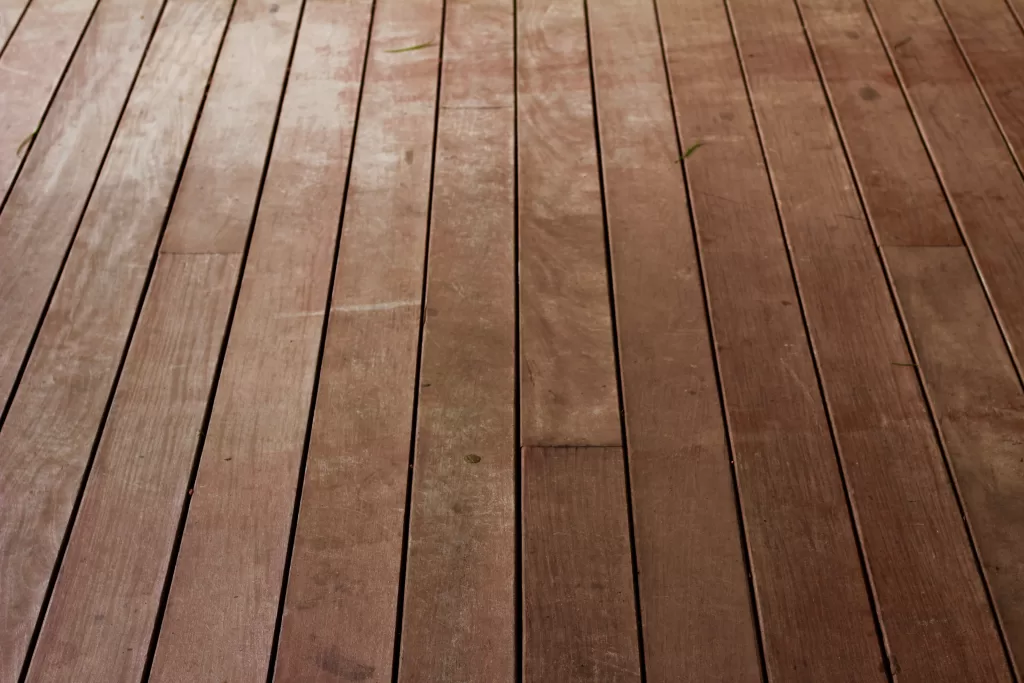
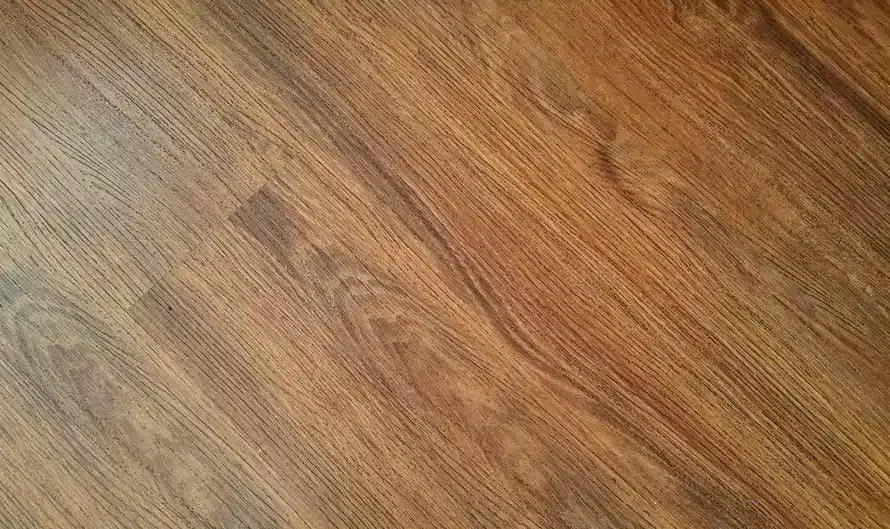
Wood
Painting your hardwood floor is similar to painting a tile floor. There are some extra steps to be aware of in the prep work, so keep reading to learn how to properly stencil your wood floors.
Supplies:
- Sandpaper and/or stripper
- Painters tape
- Interior floor paint – base color
- Interior floor paint – top color(s)
- 3/8 nap roller brush
- 1/4 nap roller brush
- Stencil(s)
- Stencil brush or small foam roller
- Small paintbrush
- Sealant
1. Prep the Floor
Remove all furniture from the space and thoroughly clean the floor to remove all debris or residue. Since paint must adhere to a porous surface, it’s not recommended to paint floors with glossy, polyurethane, or other factory finishes. If this is the case with your floor, you’ll need to remove the wood finish before you start.
2. Paint the First Coat
Using blue painter’s tape, tape off your baseboards and any areas where you don’t want paint. Using high-quality interior floor paint, paint the floor from back to front using a 3/8 nap roller brush.
Once your first coat is dry, wait at least six hours, then repeat with one more coat.
3. Measure the Floor and Start Stenciling
With a wood floor, you are much less likely to have squares to work from as with tile floors. A good tip is to use a measuring tape to find the center of the room and work from the center out.
Ensuring your stencil is straight, tape down the edges so it doesn’t move. Once you’ve painted one stencil using a stencil brush or small foam roller, let it dry for at least one hour before moving on. Consider purchasing two or three stencils so you can keep working while the other dries.
Each time you move to a new space, take care to line up the stencil precisely with the neighboring stenciled space. Touch up any areas where the paint bled with a small paintbrush.
When you have stenciled the entire floor, let it dry for at least an hour before moving on to the next step.
6. Add a Top Coat
When your paint is dry, you are ready to apply a top coat of sealant. Sealing your wood floor after painting it provides an extra layer of protection so please don’t skip this step.
If your interior floor paint didn’t come with a top coat as part of a set, opt for a polyurethane sealant or a polyacrylic sealant. Polyacrylic sealant tends to release fewer fumes and be safer for pets but may not be quite as durable.
Apply your sealant with a 1/4 nap roller. Allow it to dry for at least 24 hours before resuming activities. If you can, wait a few days to replace the furniture.
Are You Ready to Update Your Home With Floor Stencils?

Compare Quotes from Top-rated Flooring contractors in your area.
Floor stencils offer a fun, creative, and budget-friendly way to update your home between flooring remodels. When you find you are ready for new flooring, we offer a wide variety of flooring options and services to fit your style and home.
Whether you want to go for a look that adds a simple flair or a detailed design, there is a stencil out there for you. We recommend taking the time to properly prepare your surface at the beginning of your project, as well as properly sealing your painted floor at the end. Slowing down will result in a beautiful floor you and your family can enjoy for years.
With these tips in mind, we hope you achieve the stenciled look you are dreaming of.
Have questions? Need Professional help? Tap here to get an Estimate from Top-Rated Flooring Specialists in your area.
Facebook
Comments